 To
construct the box, first join the ends of the shape -- in the ACE model, there
will always be a tab at one end and not on the other, shown in this picture
as a darker grey.
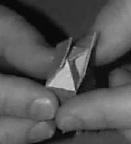
To
construct the box, first join the ends of the shape -- in the ACE model, there
will always be a tab at one end and not on the other, shown in this picture
as a darker grey.All Groups
Tips for Modeling in Paper
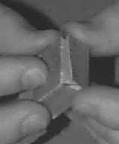
When constructing paper models, keep the following in mind:To
construct the box, first join the ends of the shape -- in the ACE model, there
will always be a tab at one end and not on the other, shown in this picture
as a darker grey.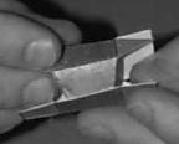
Last but not least, if you have any problems with this project that you think should be addressed, please tell your teacher, who will report them to the designer. You may want to write them down so you can remember them, and pass in the list later. Thank you for your patience!
Go on to the Information for Group One